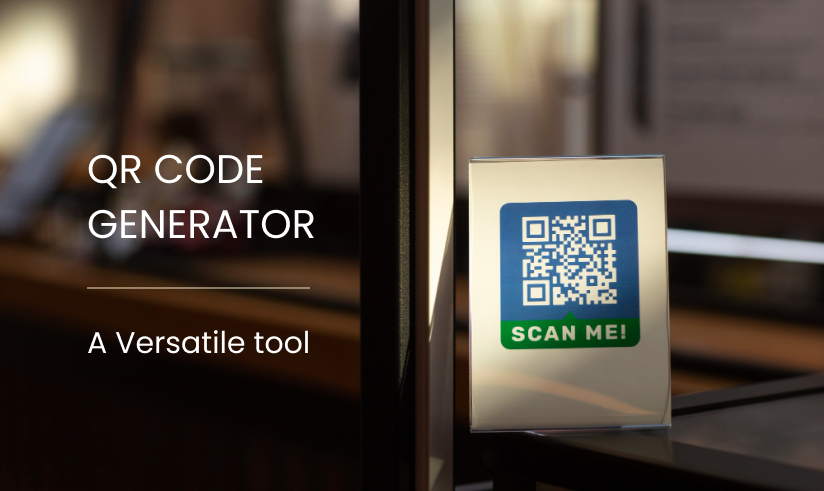
In today’s digital age, QR codes have become a ubiquitous tool for sharing information effortlessly. These pixelated squares are a gateway to a world of possibilities, enabling individuals and businesses to connect with their audience seamlessly. Creating your own QR code has never been easier, thanks to QR code generators. In this blog post, we’ll walk you through a step-by-step guide on how to create personalized QR codes using a QR code generator.
Choose a Reliable QR Code Generator
The first step is to choose a reliable QR code generator. There are numerous online tools available that offer QR code generation services for free. Some popular options include QR Code Generator, QRStuff, and Scanova. For the purpose of this guide, we’ll use “QR Code Generator” as our keyword.
Determine the Type of QR Code
QR codes can store various types of information, such as URLs, text, contact information, and more. Decide what type of information you want to embed in your QR code. If you’re creating a QR code for your blog, you might want to encode the URL of the blog post.
Generate the QR Code
Once you’ve chosen the type of QR code you want to create, visit the selected QR code generator’s website. Look for the option to generate a URL-based QR code. Input the URL of your blog post into the designated field. Some generators might allow you to customize the design and color of the QR code to align with your personal brand.
Customize the QR Code
Many QR code generators offer customization options to make your QR code visually appealing and unique. You can change the color, add a logo, or choose from different design templates. Remember that while customization can enhance the visual appeal, make sure the QR code remains scannable by not overly complicating its design.
Generate and Download the QR Code
After customizing the QR code according to your preferences, click the “Generate” or “Create QR Code” button. The generator will process your information and create a unique QR code for you. Once generated, you’ll usually have the option to download the QR code as an image file (PNG, JPEG, etc.).
Test the QR Code
Before you start sharing the QR code, it’s essential to test it. Use a QR code scanner app on your smartphone to scan the code and ensure it leads to the correct URL. This step is crucial to avoid any issues later when others try to access the content.
Share and Promote
Now that you have a functioning QR code, it’s time to share it with your audience. Include it in your blog post, share it on social media, add it to your business cards, or use it in marketing materials. QR codes can be a creative way to engage your audience and provide them with quick access to valuable content.
Conclusion
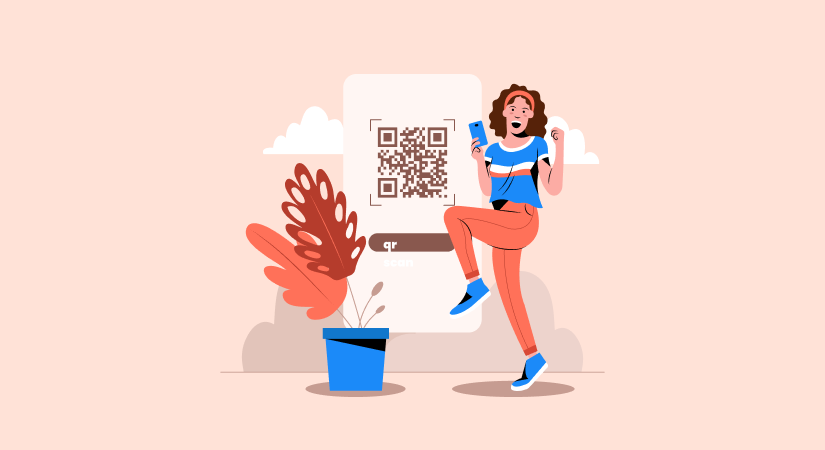
In conclusion, creating personalized QR codes has become a straightforward process thanks to QR code generators. These tools empower individuals and businesses to share information efficiently and creatively. By following the steps outlined in this guide, you can easily generate your own QR codes, whether it’s for your blog, business, or personal use. Embrace the power of QR codes to bridge the gap between the physical and digital worlds, and remember to choose a reliable QR code generator like “QR Code Generator” to ensure a smooth experience.